How to Hang Artwork in Your Home: The On Center Rule
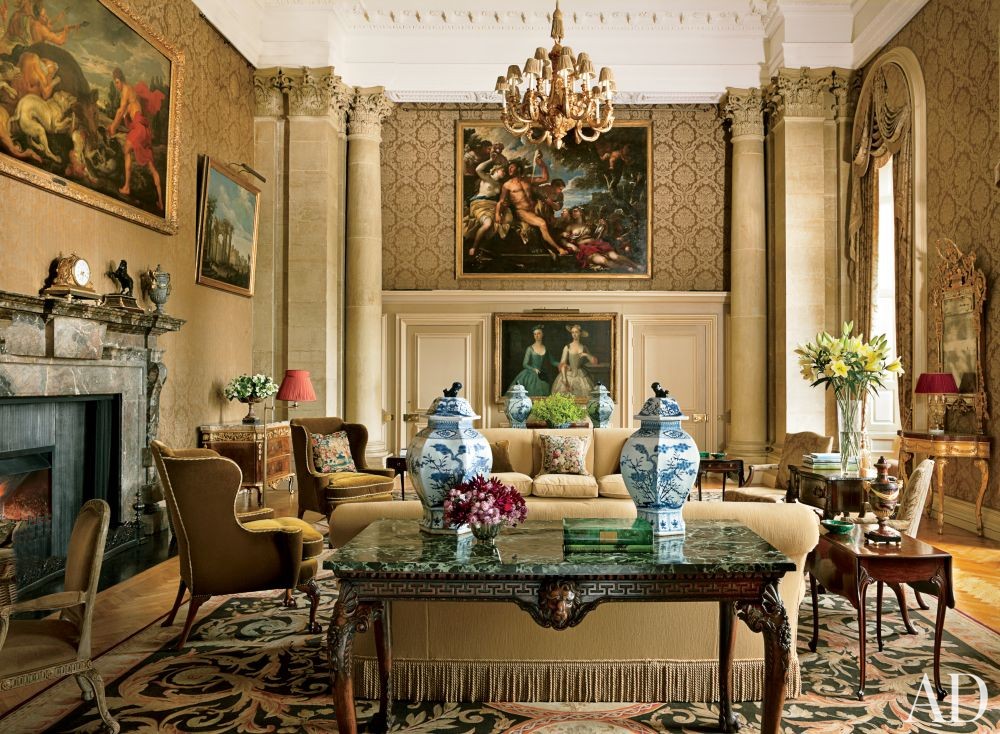
It’s easy to hang art on your walls but it’s also just as easy to make your walls look like a jumbled mess! We’ve got the scoop on how to master the 57-inch rule and turn your home into a pro-am museum that’s still cozy enough to call home.
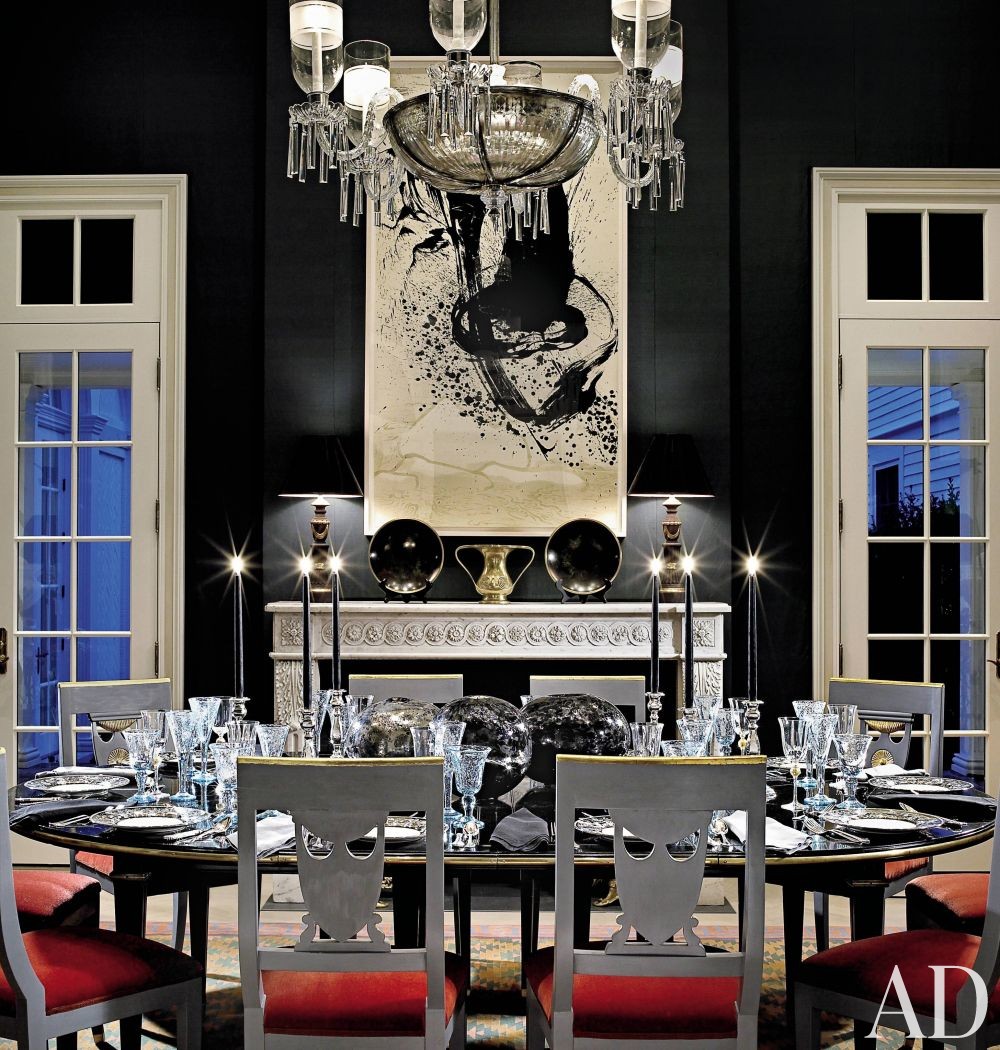 Thomas Britt Inc – Photo By: Toni Soluri
The 57-Inch “On Center” Rule
The 57-inch “on center” rule says that you should always hang your artwork at 57 inches on center. On center means that the middle of your artwork is always 57 inches high off the ground. This is the average height of the human eye – meaning that your artwork will become a focal point in your room, tying everything together, creating continuity.
How To Create Room Continuity
Continuity refers to how things flow together. Have you ever been in someones home where things just naturally seem to go together? Now, what about a home or room where something seemed “off,” but you couldn’t quite put your finger on it? What you sensed was “continuity”, meaning arranging all of the home decor so that it feels like it fits together – like it belongs together.
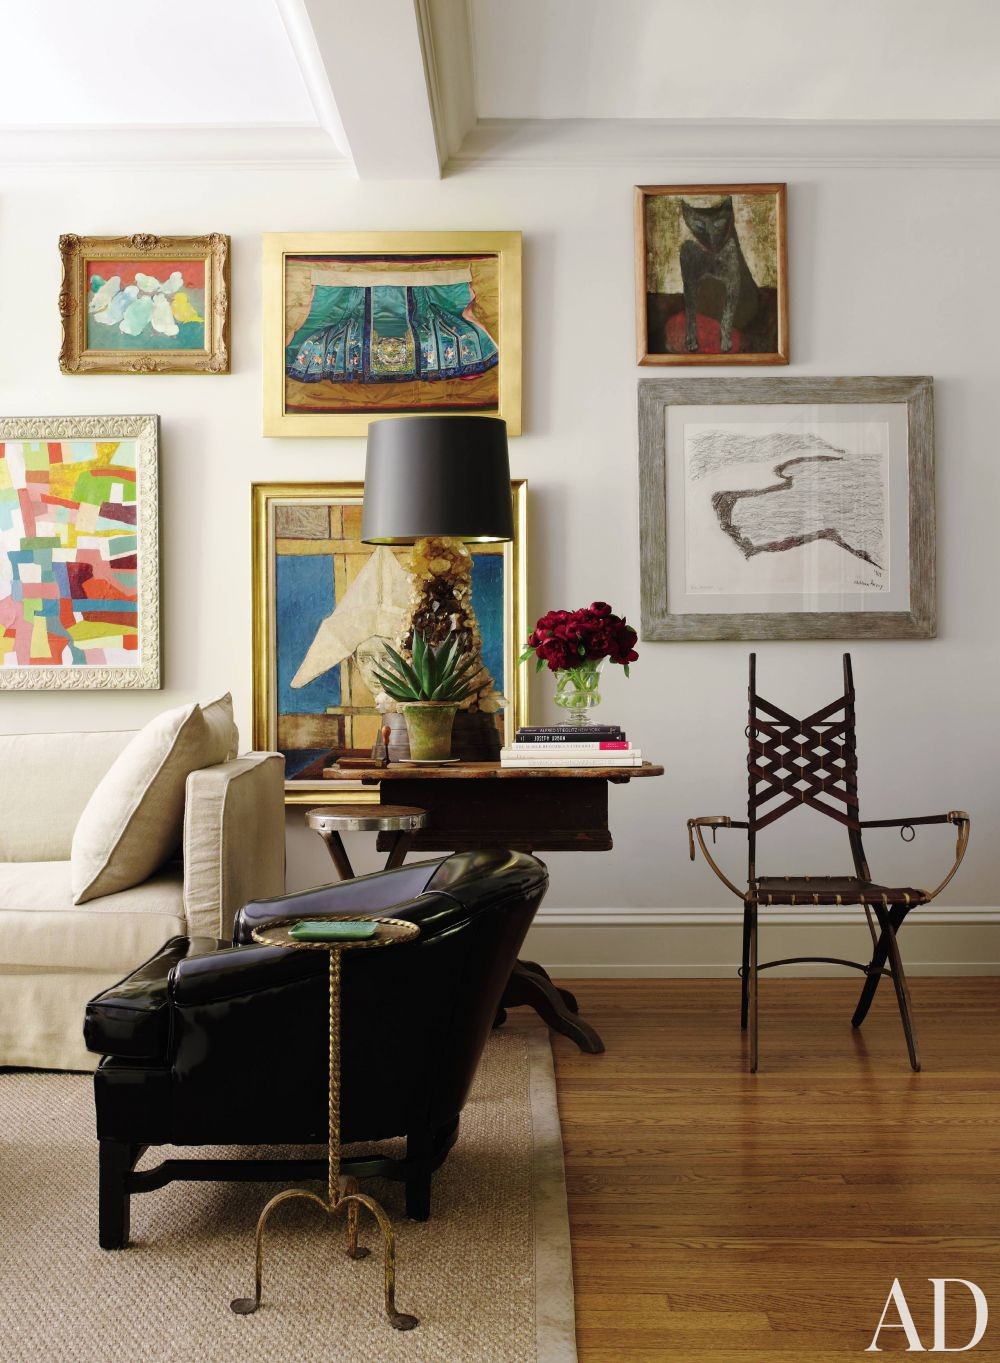 Richard Lambertson – Photo By: Joshua McHugh
Sites, like www.bedbathandbeyond.com, can help give you an idea of how to put a room together, and provide you with the raw materials (the artwork and related fixtures and frames) to make it work, but it’s really the way that you arrange them in your home that makes or breaks it.
The best way to create continuity is to spend a lot of time planning and measuring. Aside from the positioning, try to build themes with your artwork. For example, if your home is full of antiques, choose gold gilded frames and wall tapestries.
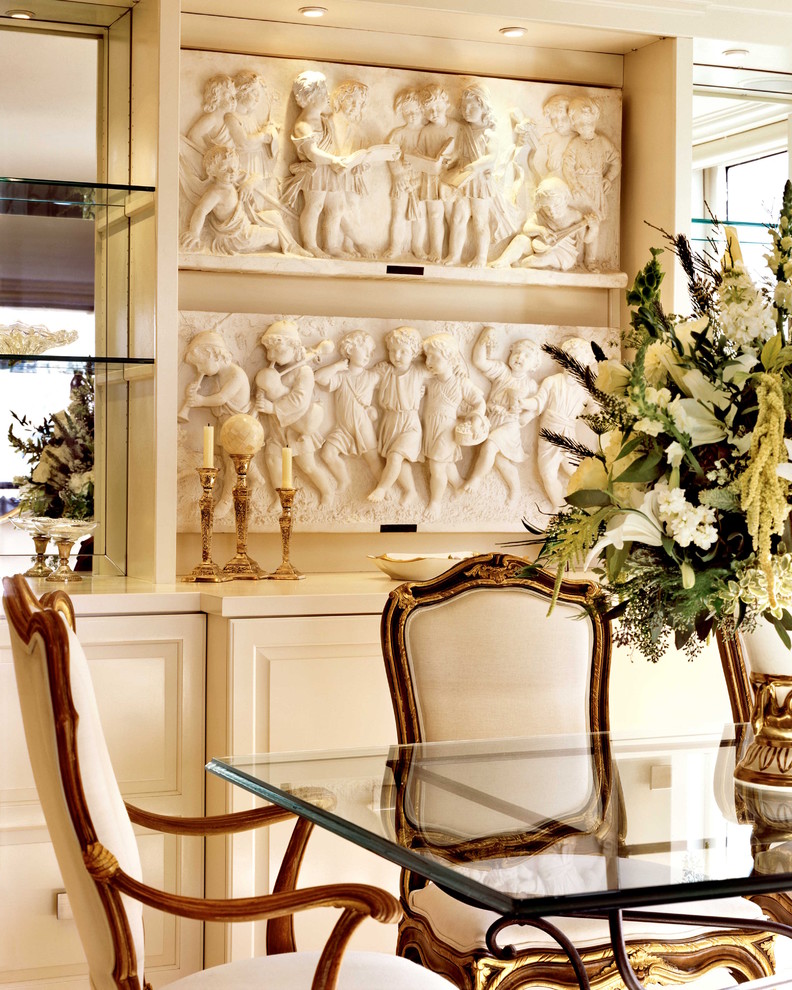
 Spencer Churchill Designs – Photo By: Oberto Gili
BDB Tip: Don’t discount items like photographs, postcards, posters, or children’s drawings. While they may not be what you consider “real art,” they can be creatively framed and they will stand out and look amazing.
Choosing Your Frames
Aside from hanging things “on center,” you also need to choose your frames carefully. A frame can sometimes add or detract from your artwork.
They can also make otherwise unprofessional or “non art” look more appropriate. In some cases, you can create a unique look that replaces art on the wall. An example of this would be a professional frame that holds your child’s drawing.
Use The Right Tools
To get the look just right, you’ll probably have to use spacing tools and tape. Be really specific about it too. In fact, you should be millimeter-specific rather than relying on rough approximations. A rigid ruler is your best tool, along with a level and a plumb bob to measure the artwork’s relative position in space on your wall.




Leave a Comment