DIY Friday: Custom Bench in a Million Styles

Forget searching for the perfect bench and make your own; just the way you like it! There is nothing better than taking things into your own hands and fully customizing your own shape, size, color, style, and fabric.
A lot of you have been in search of the perfect bench to place at the end of your bed, in the hallway, or walk-in closet and have failed unsurprisingly! That is why I’ve decided to feature this easy DIY where you can make your own custom upholstered bench! It will take some time, patience, and most importantly creativity but the end result is spectacular!

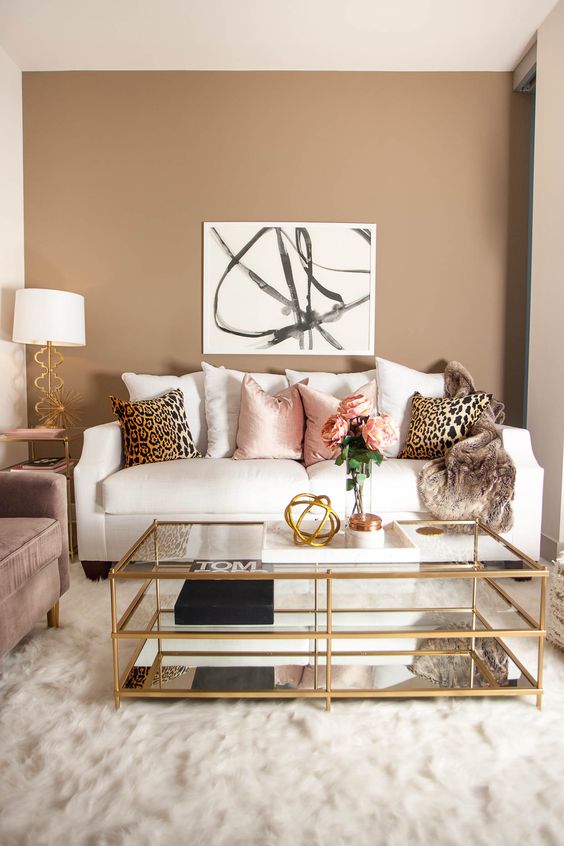
1st Dibs

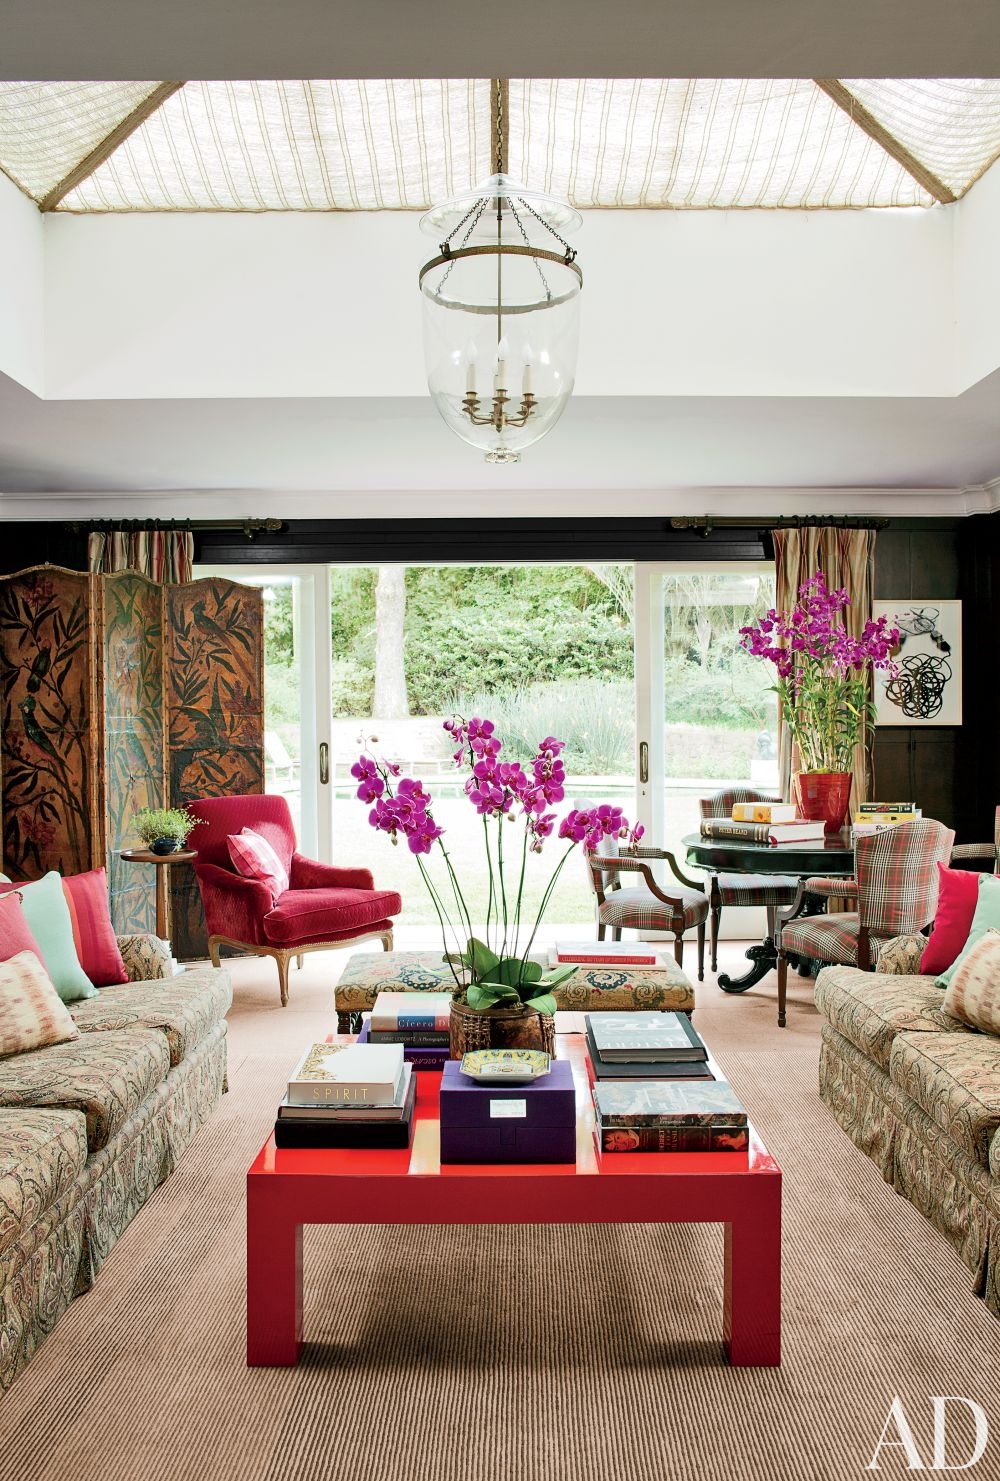
 Neimen Marcus
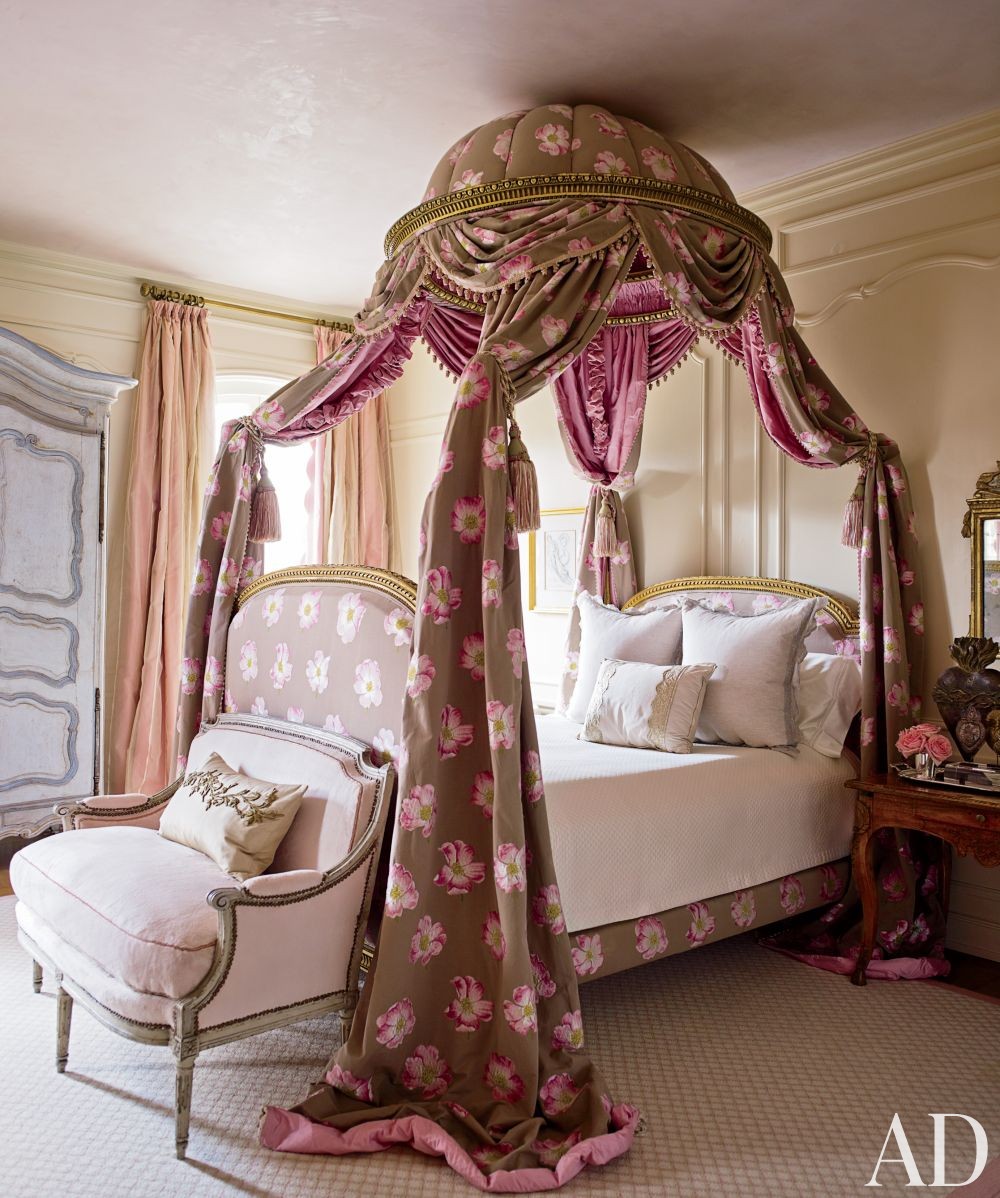
This project is for a 48” x 16” x 20” tall bench.
Materials:
- 2 48” 1×4’s
- 2 14” 1×4’s
- 4 legs
- 4 table leg top plate attachments
- 48” x 16” plywood
- 48” x 16” foam
- Batting and lining
- Drill
- Electric stapler
- Spray adhesive
- Prime and paint
- 4 3” squares (optional)
Instructions:
1. Nail all the sides of 1×4’s together. Glue and then nail one 3” square of wood in each corner lining it up evenly with the top. This is where the leg will be attached. You could also attach your legs to the plywood top, but we wanted more of the decorative part of the legs to show.
2. Flip it over and attach the 16” x 48” piece of plywood with a power nailer around the edge.

3. Spray the top of plywood and bottom of the foam with spray adhesive and lay it on top of the plywood.
4. Stretch the batting tight, covering the foam and stapling it around the bottom. Then cover the batting with a piece of lining the same way (optional). This is where your decorative fabric comes in, attach it using the same method with a staple gun.

5. Cut the bulky fabric that is left in the corners close to the staples.
6. Attach the top table plate to each of the legs and prime and paint them with your desired color.
7. Attach the table plate to each corner with 4 screws it came with.

8. Screw the legs on and… voila!
 Photos via Shannon Berrey
BDB Tip: To add some extra jazz hammer in some studs all around your new bench. Another project I came across used a vintage fur coat to cover the whole seat. I could definitely see myself adding some gold fringe all around with perhaps some tassels at each corner!


wow this is great thanks!!!
Hi
Where did you buy the legs from please?
Rach
You can get legs like this at Home Depot!
What height are the legs you used?
Ignore me, I read further and I see that has been asked and answered 😉 thanks for this post, I cannot wait to try this!
Where did you get the batting from? I check ac Moore and they didn’t have the foam.
Joann’s fabric store has tons of batting and foam which is perfect for this project!
Hello Suzy,
Thank you so much for posting this, your attention to detail really sets this tutorial apart. What is the length and price of the legs and are the legs unfinished wood so they can be painted?
B.G.
Hi Blak, I’m not sure what the price of the legs was but I think they are around 15″. They wood comes unfinished and ready to paint any color you like! You can also stain the legs for a classic look. Hope this helps!
What heighth legs are you using for this project?
I think she said 15″ in her last reply.
Hey Suzy! Thank you so much for this awesone diy! Do you have an idea for the total price for this project? Thanks!
Hi Keila,
It honestly depends on where you purchase your materials. I would definitely check out your local Home Depot as they seem to have the best prices when it comes to the materials in this DIY. :))
hiw much was spent to make this?
By the way, you did an awesome job. I’ve been looking for a bench I could afford for years. I’m goi g to do this.
Thank you
Sammie
Hi Sammie,
Glad you like the project! The cost really depends on what kind of materials you use, but it can be made very cheaply and still look amazing. One look I LOVE for benches is velvet with tufting and diamond buttons!
Nice!
I have a coffee table that has been sitting idle for a few years, the only change will be the top…as the top is oval…paint the legs and upholster the top…voila! Thanks for the info.
Nice!
I have a coffee table that has been sitting idle for a few years, the only change will be the top…as the top is oval…paint the legs and upholster the top…voila! Thanks for the info.