DIY Makeover: Reupholstering and Repainting a French Country Chair
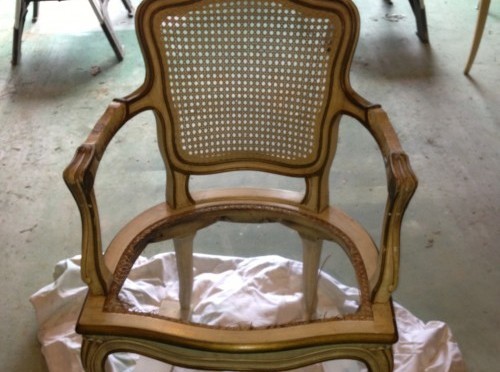
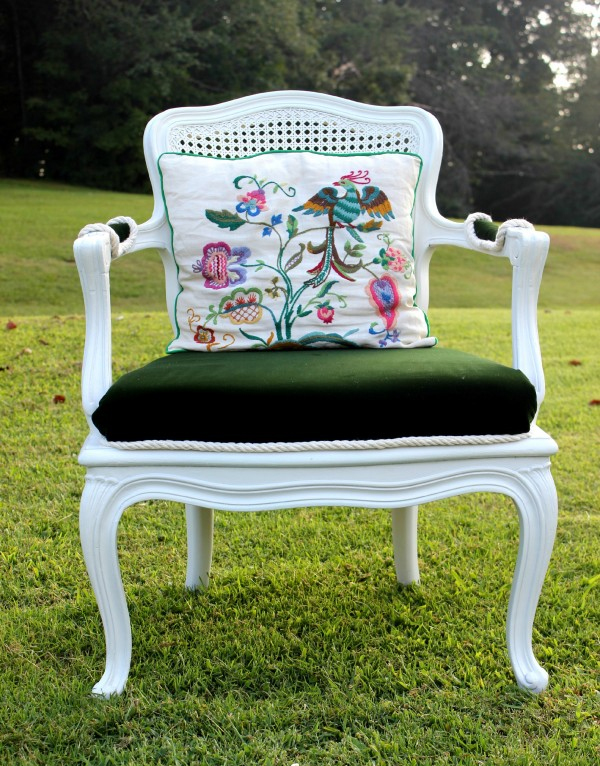
Who doesn’t love a great DIY? There is nothing better than coming across an old piece of furniture and seeing beyond it’s cracks, dents, marks and scratches. I’ve recently checked out a few furniture repair shops and was stunned by what some new hardware, a fresh lick of paint, and some new fabric can do to an old piece of furniture! Being able to see the potential it truly holds needs the eye of an designer!
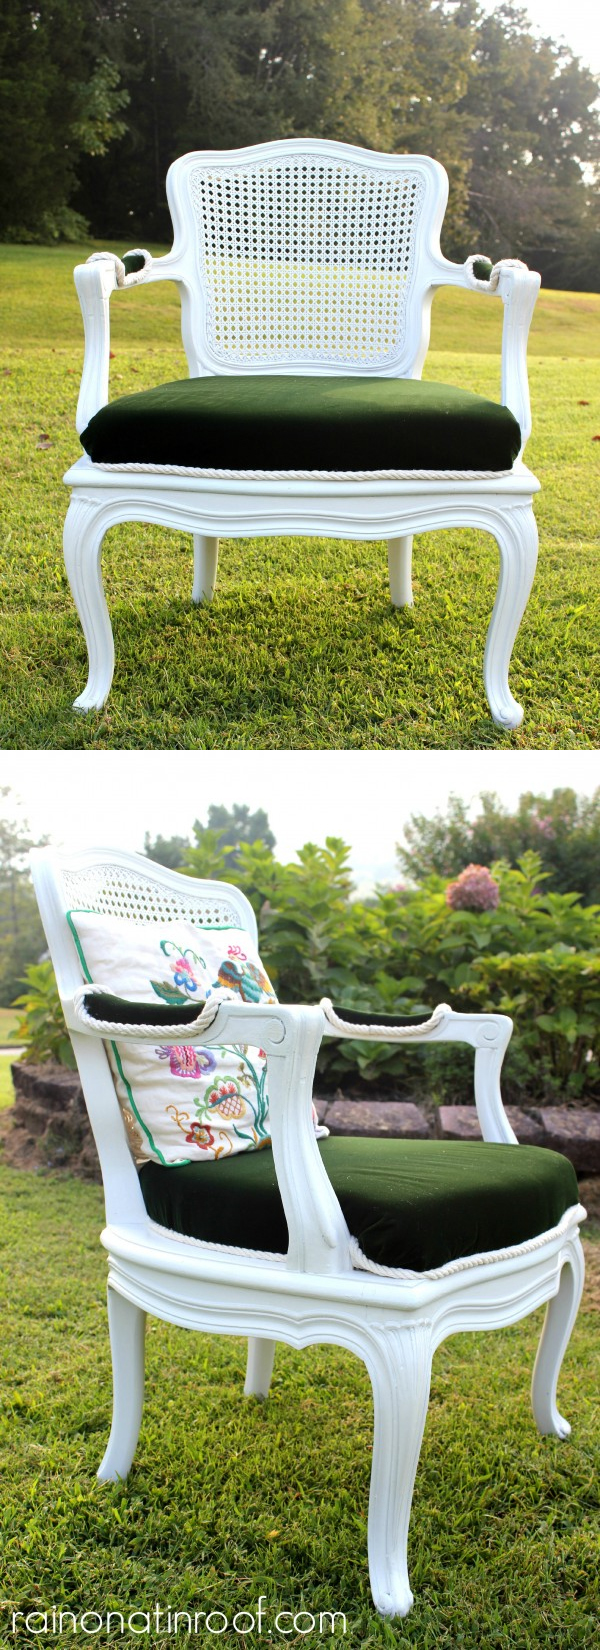
This gorgeous French country chair was given a complete makeover by my pal Jenna from the blog Rain on a Tin Roof. She gave the chair a fresh new start by reupholstering and painting it – giving it a whole new life. Check out this fabulous project:
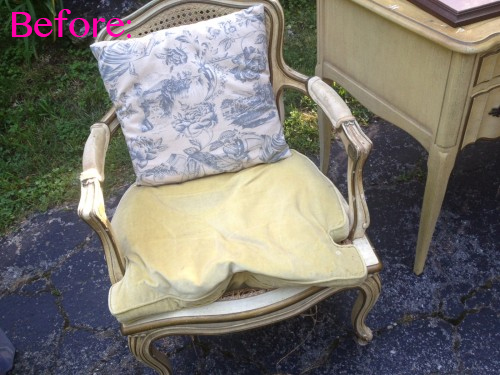
What you Need:
– Sandpaper
– Glue Gun + Nail Gun
– Primer
– Wood Putty
– Wood Paint
– Polycrylic Top Coat
– Upholstery Sponge
– Batting
– Upholstery Fabric
– Trim
Step 1: Give it a Good Wash
Use a cloth or sponge dipped in warm water and soap and wipe down any dirt, dust, and build-up on your old chair. Make sure it dries completely before continuing onto the next step.
Step 2: Sanding
To create a smooth painting surface and to make sure your new paint with stick to your wooden chair, give it a good sanding. If your chair is covered with paint that is already chipping, use a coarse grit sandpaper to remove the paint.
Step 3: Fix Holes and Scratches
Your chair may be filled with dents and scratches from the a lot of wear and tear. After all, that’s the beauty of a vintage find – they all seem to have a long story to tell! If you can’t remove the marks using your sandpaper, use wood putty to fill in the marks and allow it to dry. When the wood putty dries completely, remove the excess by sanding it off until you get a smooth finish. Then, take a damp cloth to remove all the dust from sanding and allow it to dry.
Step 4: Get Ready to Prime
Remove the canning and fabric from the arms and get ready to prime your chair. You can use a regular wood primer and use a spray paint gun or a regular paint brush. Give the chair 1-2 coats of primer.
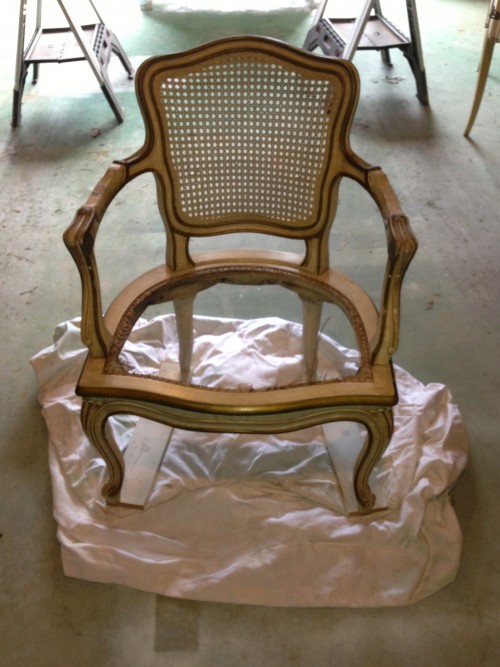
Step 5: Painting
Once the primer is completely dry, paint your chair your desired color (Jenna used white and thinned it out with a little water). Apply 2-3 coats of paint and a topcoat of Polycrylic. If you are going for a lacquered finish, you may want to buy something like sheen top coats from Fenlan Product Store to give it that luxurious finish.
Step 6: Make a New Seat:
To replace the canning on the chair, measure out your seat and cut out a piece of wood that fits snug on your newly painted chair. Lay it down on your foam padding, trace around it, and cut out the foam to match the shape of your piece of wood.
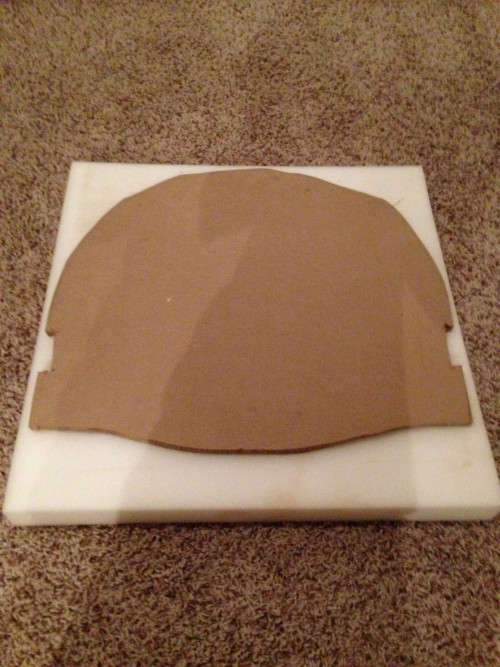
Step 7: Reupholster
Cover your newly cut foam with a layer of batting to smooth out the edges and a layer of the fabric you chose for upholstering. Jenna used a gorgeous green velvet fabric – one of my faves! She topped it off with some decorative trim that she hot-glued in place at the bottom edge.
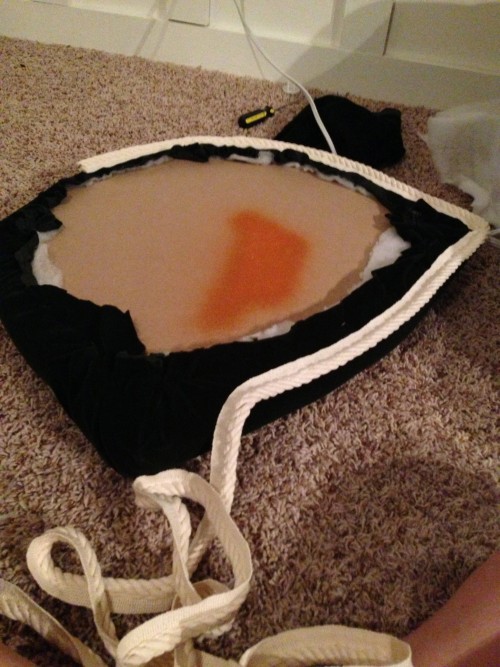
Step 8: Reupholster the Arms:
To reupholster the arms of your chair, place a layer of batting over the arms, then a layer of pre-cut green fabric. Staple it down near the edges and hot glue more trim around the edges to hide your staples.

And voila – your finished product! To make it stand out even more, add a gorgeous embroidered pillow to your chair to give it that ‘French Country Chic’ look!




Leave a Comment