Find LED Bulbs and Interior Decorating Products on DHgate.com
Masonry Contractor
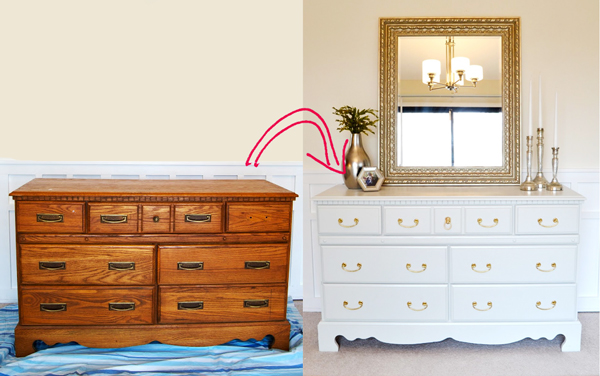
Discover the ease and variety of online shopping in Australia where you'll find everything from furniture to fashion.Linksman