How to Paint a Room With High Ceilings

A DIY painting job is an ideal way to bring new life to your place without spending out of pocket but still adding that personal touch to your home. While it may be a daunting task at first, it can quickly become a fun and rewarding project with the proper knowledge and tools.
As with everything else, certain areas of your home may differ vastly from others. High ceilings are one of the exceptions, where you have to build your project around them to ensure you achieve a satisfying result. With this article provided by professional painters, you will learn just that.
Preparing the Room for Painting
While there may be certain differences in how you will go about your project, depending on whether or not you have high ceilings, some things are crucial for your project’s success.
Preparing the room in advance will allow you to do the job safely and save you a lot of trouble in the long run.
First and foremost, remove any furniture, decor, and fixtures. This will free up space for you to move around, use ladders safely, and ensure your possessions are safe. Once you have moved everything out, cover the floor with a drop cloth to protect it from spills and drips.
Once you have set up your area, inspect the walls and ceiling. If you find any cracks, holes, or other damages, make sure to fill and sand them. This will allow your new paint to adhere better, providing a smooth, even finish. Depending on the condition of the walls and whether you are looking to change the colour from a darker to a lighter one, you may need to use a primer.
Once you have everything ready to start painting, remember to open windows and doors and, if necessary, use fans to ensure proper ventilation in the area. This will not only allow the paint to dry faster and more evenly but will reduce the risk of you inhaling VOCs (volatile organic compounds).
DIY painting tools You’ll Need
When preparing to paint a room with high ceilings, you should know that there are two types of tools for painting you need. The first group is the essentials, while the second group is the DIY tools you will need to complete your work.
While the essentials consist of wall cleaner, brushes and rollers, painter’s tape, a ladder and a bucket, you may need to do some tweaks to paint your high ceilings.
The first thing you need to consider is the rollers. While they are perfect for covering large areas, using them on a high ceiling may be a little tricky. To take full advantage of the benefits of rollers, an extendable roller handle is required. Handymen use it to reach high areas without constantly climbing ladders. Following their example, you can save time, effort and make the work much less risky.
Another thing to consider is the ladder. Professional painters will go for a short, light ladder for your everyday projects. It is easy to move and will be sufficient to complete the job. However, you should look into a higher, more sturdy ladder for high ceilings.
Ceiling DIY Painting Steps
So you have made all the necessary preparations and are now ready to paint your ceiling? You should know that there is a technique that works best when it comes to this endeavour.
First and foremost, you would like to use painter’s tape to protect any trip or moulding. This will also ensure that you have the perfect straight line. After you have set it up, take your brush and cut around the edges.
Grab the roller and begin painting the ceiling by starting in a corner. Work your way across the room, creating a grid pattern. Make sure to use long strokes and apply paint in thin, and ensure that you blend each section into the next.
Once you have done your first coat, let it dry completely before applying the second one. Do not hesitate to use a paintbrush or an angled brush for any hard-to-reach areas or corners.
After adding a second coat of paint, leave it enough time to dry and inspect the ceilings carefully. Painters and decorators share that two coats of paint are usually sufficient. However, with different projects, they have needed three or even, in some cases, four coats to achieve the desired result.
Tips for Safe DIY Ceiling Painting
The most crucial part of any DIY project is learning how to do it without risk to you and your environment.
Invest in a Quality Ladder
Using a quality ladder guarantees stability and reliability. Any time you need it, especially when painting high ceilings, ensure that it is placed on a level surface and that the top is secured against the roof.
This project includes continuously going up and down the ladder, using your weight and the handyman tools and paints you need, so a sturdy ladder will go a long way regarding safety.
Invest in an Extendable Roller Handle
While it is almost unavoidable having to climb a ladder to complete your DIY painting, you can certainly take some measures to reduce that activity.
An extendable roller handle will allow you to reach high areas without climbing up and down the ladder repeatedly. It may take some time to get used to painting with the new handle, but it will save you a lot of time and effort.

Choose the Right Paint Colour
When it comes to painting high ceilings, you have a choice to make.
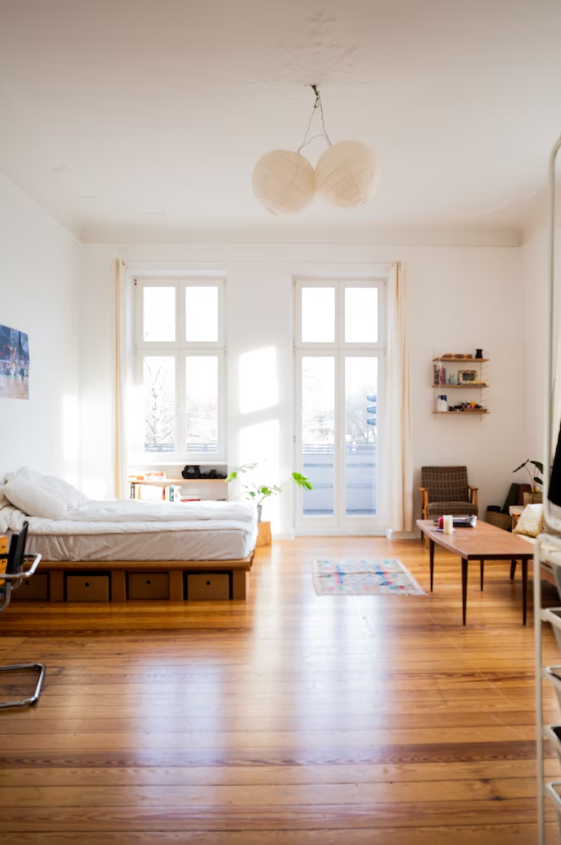
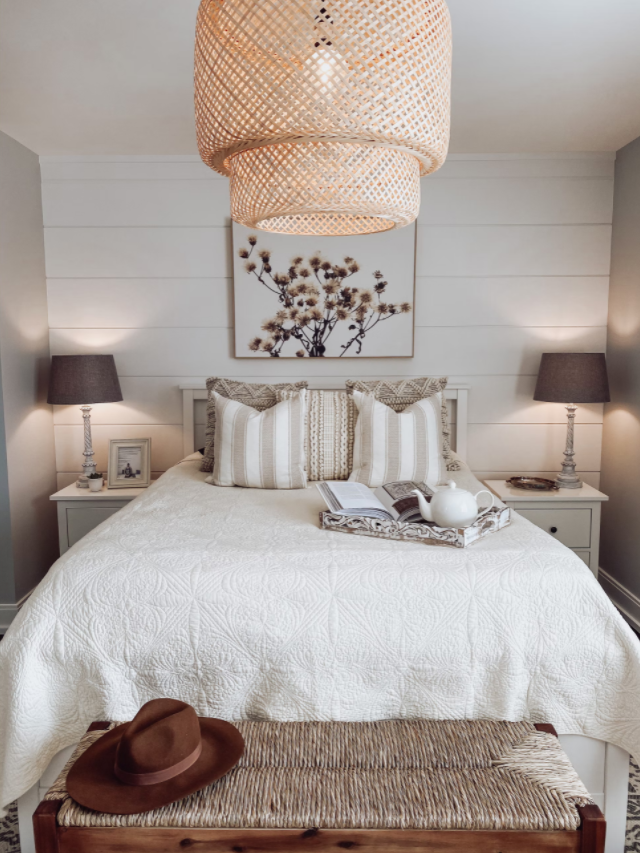
Light shades will make the space feel even more spacious, while darker ones will set a more cosy and intimate feeling. The advantage of the higher rooms is that you have the freedom to experiment with bold, daring colours. In a typical setting, they may feel too overwhelming and make the space seem too small, but with the high rooms, it may be just what you need.
Consider the purpose of the room and the amount of natural light that comes in before you make your choice. If you are not renovating your entire property, you can take inspiration from the existing decor around you.
Consider Renting a Scaffold
Depending on the area you wish to decorate, renting a scaffold may be the best solution. It is the most comfortable way to paint high walls and ceilings.
The expense and difficulty, however, are important in deciding whether to opt for one. If you want to paint a single room, there may be better solutions. However, it is worth considering if you are painting the entire house.
The good part is that many professional handyman companies nowadays offer to rent out scaffolds for various periods.
Hire a Handyman Service
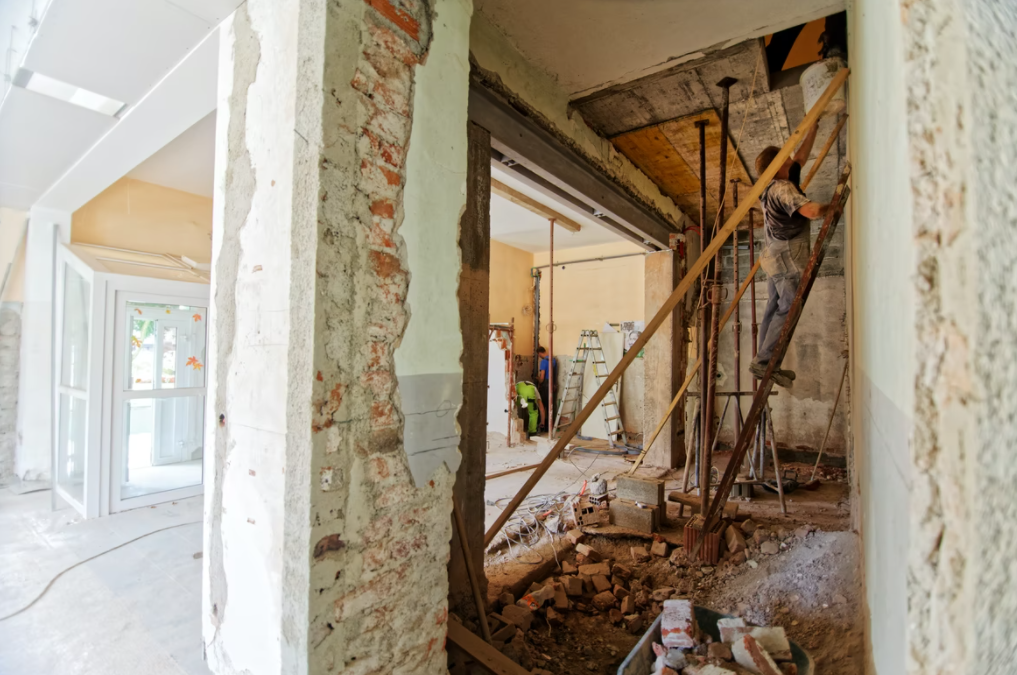
Painting high ceilings is a challenging task for a novice. It takes a lot of time, effort, and coordination to complete the project, not to mention the heavy physical toll it will take.
If you are new to the DIY painting experience, such a project may not be the best place to start. Of course, this should not deter you from bringing the much-needed change to your living space.
When facing a difficult task, consider turning to the pros. Professional painters and handyman services specifically offer painting of high dealings due to the complex nature of the project. Spending a few extra bucks on a company that specialises in the field may be the most cost-effective method at the end of the day.
Conclusion
Painting high ceilings is no easy task, regardless of whether you are an experienced DIYer or someone who is just starting now. It requires a lot of skill, confidence, and preparation to ensure you are satisfied with the outcome.
Using the correct techniques and handyman tools is certainly an achievable target. However, hiring professional painters is an option worth considering if you lack the experience and tools.